Authentication
Before we can begin making calls to Omneo, we first need to authenticate.
This could be with the Omneo API directly, or using the Shapes SDK.
To do this, we will need an authentication Token, there are a number of ways to obtain these .
Specific users per integrationFor all integration tokens we recommend first creating a Machine User that is named to match the system that will be talking to the Omneo API and that all tokens that it requires are created using that account. You can safely update the Machine Users password to CX manager to maintain its security without needing to update the tokens.
Authenticate using OAuth 2.0
Before you start, you will need the following items:
Item | Description |
|---|---|
Username | Your Omneo username |
Password | The Omneo password for your username |
Client ID | The Client ID of your username |
Client Secret | Your Omneo Client Secret. |
Scope | "*" for all scopes. |
Once you've obtained the above information, you can use it to request a token.
var url = 'https://api.[tenant-handle].getomneo.com/api/v3/auth/token
var postOptions = {
    'method': 'POST',
    'headers': {
        'Content-Type': 'application/x-www-form-urlencoded'
    },
    "body": 'grant_type=client_credentials' + '&client_id=[client-id]' +
 '&client_secret=[client-secret]' + '&username:[username]' + '&password:[password]' + '&scope:[scopes]',
};
var authToken = fetch(url, postOptions).then(function(resp) {
    return resp.json(); // JSON Response
}).then(function(data) {
    console.log('token', data); // Parse the response and show your token
}).catch(function(err) {
    console.log('Error authenticating', err);
});
return authToken;
}
Using a provided Bearer Token
Omneo Administrators have the option the generate bearer tokens for use with Omneo authentication. These tokens can be provided specific scopes for use with your application.
You can generate a bearer token from your Omneo Dashboard.
By Navigating to Settings > API Tokens > Add Token
Select your desired scopes and add the new token.
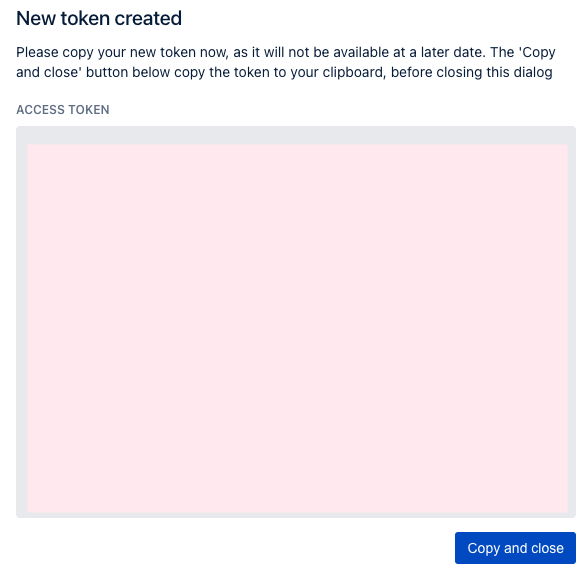
You will be presented with your new Bearer token for use with Omneo.
Make sure to copy it to your clipboard, as you won't be able to see it again!

Authenticate using Shopify
When using an Omneo Shopify configuration, you will have your client_secret configured against your shop. This can be accessed via Liquid.
Obtain the customer ID and signature.
Customer id: obtained from the customer object in shopify liquid with {{customer.id}}
Customer Signature: the Customer id encrypted using the hmac_sha256 filter, providing your Omneo secret as the secret key.
It is recommended to assign these as variables in liquid as below:
{% assign customerId = customer.id %}
{% assign customerSignature = customer.id | hmac_sha256: shop.metafields.omneo.id_secret %}
Check for an existing token
This can be done, by checking the local storage for a token with the shopify customer ID.
If a token exists and has not expired, you can use this to authenticate against Omeno.
If the token is undefined, expired, or invalid you will need to fetch another.
var key = 'shapes:omneo:shapestoken:{{customer.id}}'
var token = localStorage.getItem(key);
Fetch an API token
https://api.{tenant}.getomneo.com/shopify/api/{version}/auth/token
Providing both the customer ID and Signature in the payload.
Once you’ve successfully retrieved a token, you can set the new token to local storage using localStorage.setItem(key, YOUR_TOKEN)
(where key is the location variable set in step 2)
fetch(`https://api.test_store.getomneo.com/shopify/api/v1/auth/token`, {
   method: 'POST',
   headers: {
       'Content-Type': 'application/json'
   },
   body: JSON.stringify({
       id:{customerId},
       signature: {customerSignature}
   }).then((res) =>{
   localStorage.setItem(key, res.data.token);
   })
})
Authenticate using a Proxy
If you have had your Omneo partner configure a proxy to handle your requests. You will be directing your requests via the Proxy, instead of your Omneo endpoint directly. This is the recommended solution for customer facing applications.
fetch(`{PROXYURL}/login`, {
  method: 'POST',
  headers: {
      'Authorization': 'Basic ' + base64.encode(username + ":" + password)
  }).then((res) =>{
      console.log(res.data.token);
  })
})
The proxy will return a payload similar to the below:
{
   token: {BearerToken},
   expiry: {ExpiryDate}
}
This will contain a Bearer token for use with the ShapesSDK
Authenticating using Sales Force Commerce Cloud
All SFCC integrations have a configured Cartridge and proxy server for use with the Omneo API.
Please follow the steps above Authenticate using a Proxy
In the case of a SFCC integration, this proxy will be configured to authenticate using SFCC customers, whilst also syncing Omneo and SFCC.
SFCC Integrations and Guest accountsIf the customer is a ‘guest’ account and wishes to create an account, you may call the /create endpoint of your proxy to create the profile, and then follow up with a login.
For further information, please reference, the
SalesForce Customers Resource
Which provides further details around the SFCC customer API[OCAPI JWT 15.8]
(https://documentation.b2c.commercecloud.salesforce.com/DOC4/index.jsp?topic=%2Fcom.demandware.dochelp%2FOCAPI%2F15.8%2Fusage%2FJWT.html)
Which provides further details around the SFCC authentication and creation of guest tokens
Initialise the ShapesClientSDK
Once you've successfully retrieved a token for authentication,
you can use this token to initialise the Shapes SDK, or create authenticated requests to your Omneo endpoint directly.
curl -H 'Accept: application/json' -H "Authorization: Bearer ${TOKEN}" https://api.[tenant-handle].getomneo.com/api/v3/profilesvar shapesClient = ShapesSDK.init({
url: 'https://api.[tenant-handle].getomneo.com/id',
token: '[omneo_id_token]',
logging: true
})Updated 8 months ago
