Getting started with Postman
Getting Started with Postman
One of the best ways to become familiar with the API, is using Postman to test each endpoint.
To get started, [Download Postman] (https://www.postman.com/downloads/) for your operating system.
Using the Omneo Postman Collection
Omneo Postman collectionA Postman collection is available for all developers, to quickly get up and running with the Omneo API.
To get started with Postman, you'll need to complete the following:
- Clone the Github Repo
- Import the collection into Postman
- Configure your environment variables
- Configure authentication to your Omneo platform
Clone the Repo
Clone the Omneo DevTools from the Omneo github repo Omneo DevTools
You can do this by opening a terminal and running:
git clone https://github.com/omneo/devtools-postman.gitAlternatively, you can click the Download ZIP button to download the repo directly to your machine, you'll need to extract the archive once downloaded.
You'll now have a local copy of the Omneo Postman collection on your local machine!
Open the Collection with Postman
The repository you've just downloaded is a JSON exported version of a Postman collection, which can be directly imported into Postman.
This is as easy as:
- Open Postman
- In the top bar of your application, click the IMPORT button

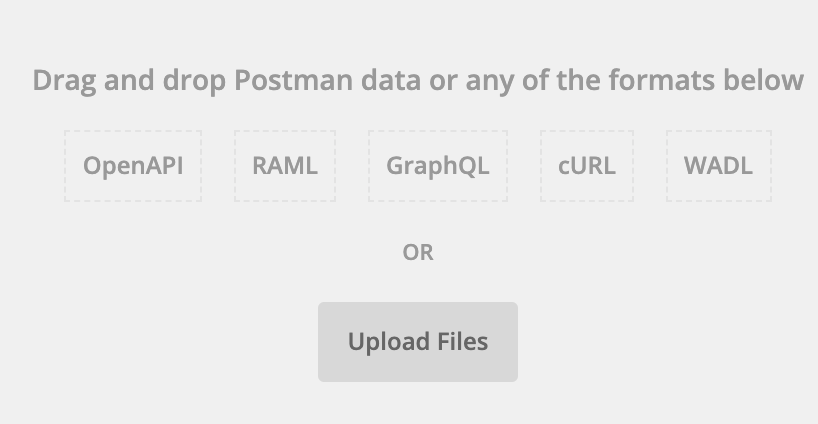
- Select UPLOAD FILES
- Navigate to the repo you cloned from github, and select the file "omneo_api.json"
- On the following screen, click IMPORT
- You've now successfully imported the Omneo API collection into Postman.
Configuring environment variables.
This collection substitutes your own Omneo URL into all requests.
to utilise this, you'll need to configure the parameters in your Postman workspace
-
Open your Postman workspace, and click the 'eye' icon up the top right of the screen, next to the environment selection
If this is a new workspace this should be next to a dropdown box showing "No Environment" -
Click Add in the top right of the environment window to add a new environment.
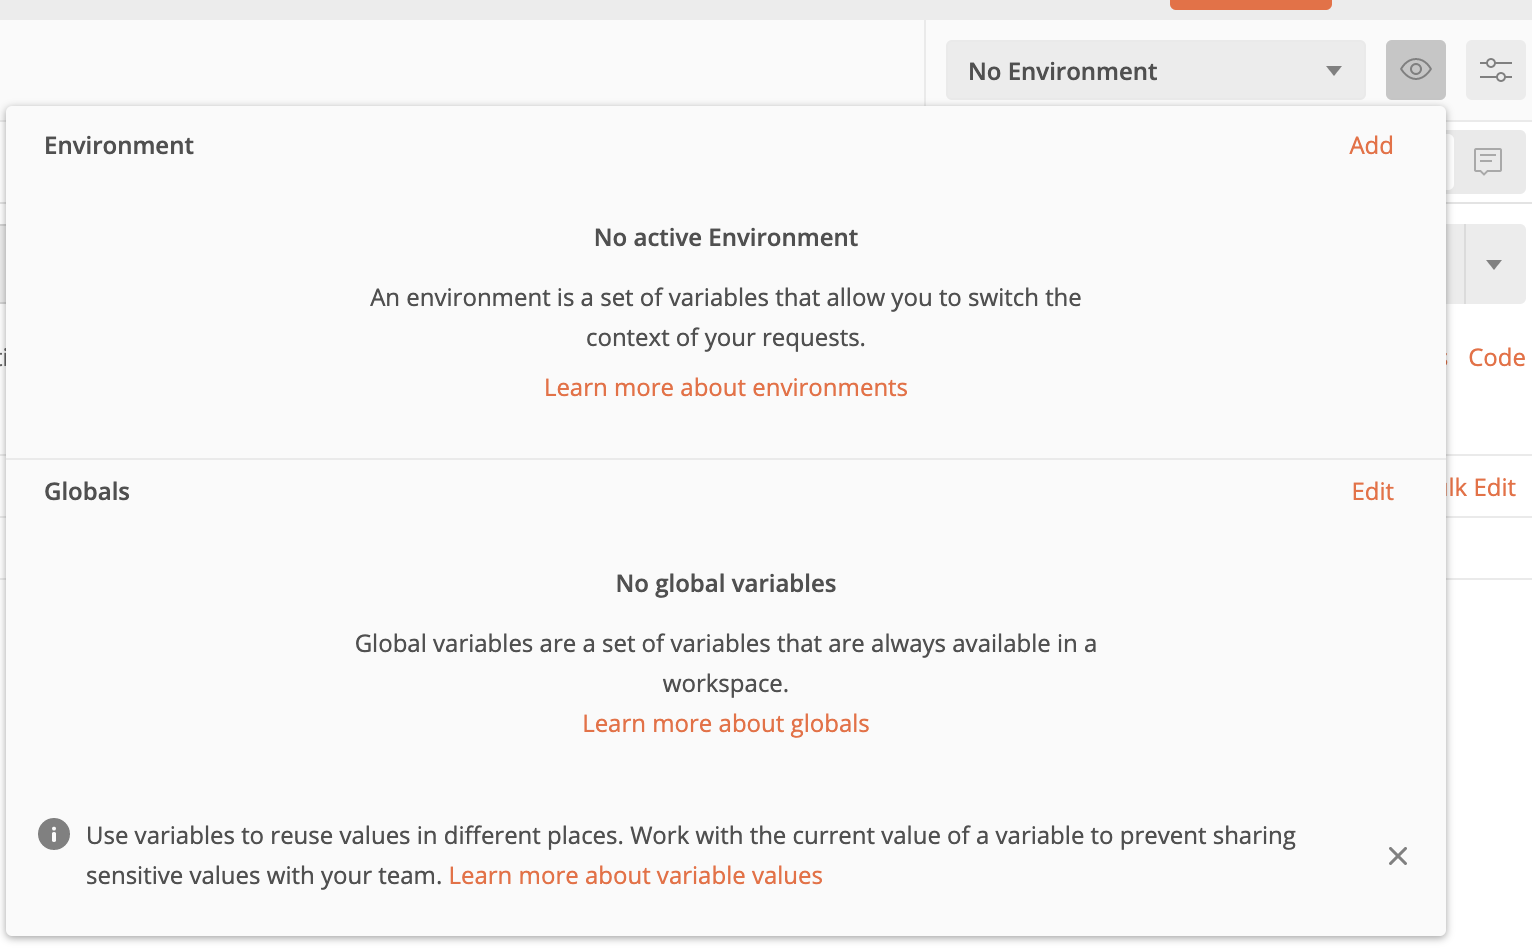
- Add the variable
baseUrl. Populate the Current Value with your Omneo api URL.
Click UPDATE to commit the new settings

Don't know your URL?Your URL is unique to your Omneo instance, and contains your tenant name.
The simplest way to get your tenant name is logging into the [CX Manager] (https://help.omneo.io/hc/en-au/articles/360000929915-CX-Manager)In the URL section of your web browser, you'll see your tenant name
for example:https://YOUR_TENANT.manager.getomneo.comSubstitute the 'YOUR_TENANT' value into the below url:
https://api.{YOUR_TENANT}.getomneo.com/api/v3This will be your Omneo API URL
Authenticating with Postman
There are a couple of different ways to authenticate with Omneo, you can use one of these methods to authenticate your requests sent from Postman.
Review the Authentication Guide to become familiar with the different methods, as they'll be used in the below steps.
The easiest way to get up and running, is generating a Bearer token directly from the CX Manager.
Using a Bearer token generated from CX Manager
- Select any Omneo request, and navigate to the Authorization tab
- Select the TYPE dropdown menu, you will be presented with the following options:
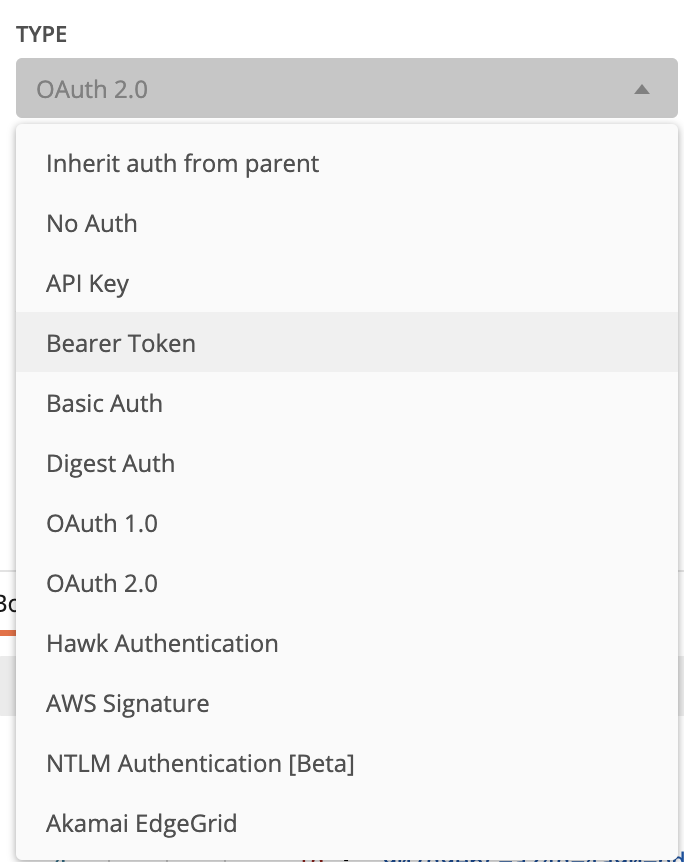
- From the dropdown list, select Bearer Token
- Using the Bearer Token you've retrieved from CX Manager
- Paste the token into the Token field.
This token will be used for authentication for this request
Remember to set the authentication method with each request, or get a 401 Unauthenticated response.

Using OAuth 2.0
- Select any Omneo request, and navigate to the Authorization tab
- Select the TYPE dropdown menu, you will be presented with the following options.
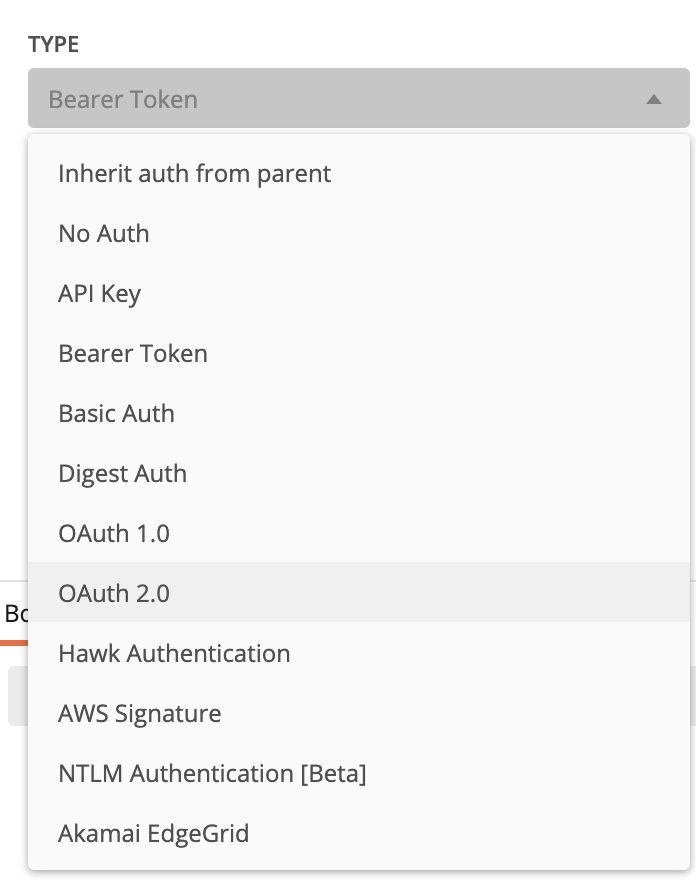
- From the dropdown list, select OAuth 2.0
- If you have not configured a token previously, you'll need to configure a new one.
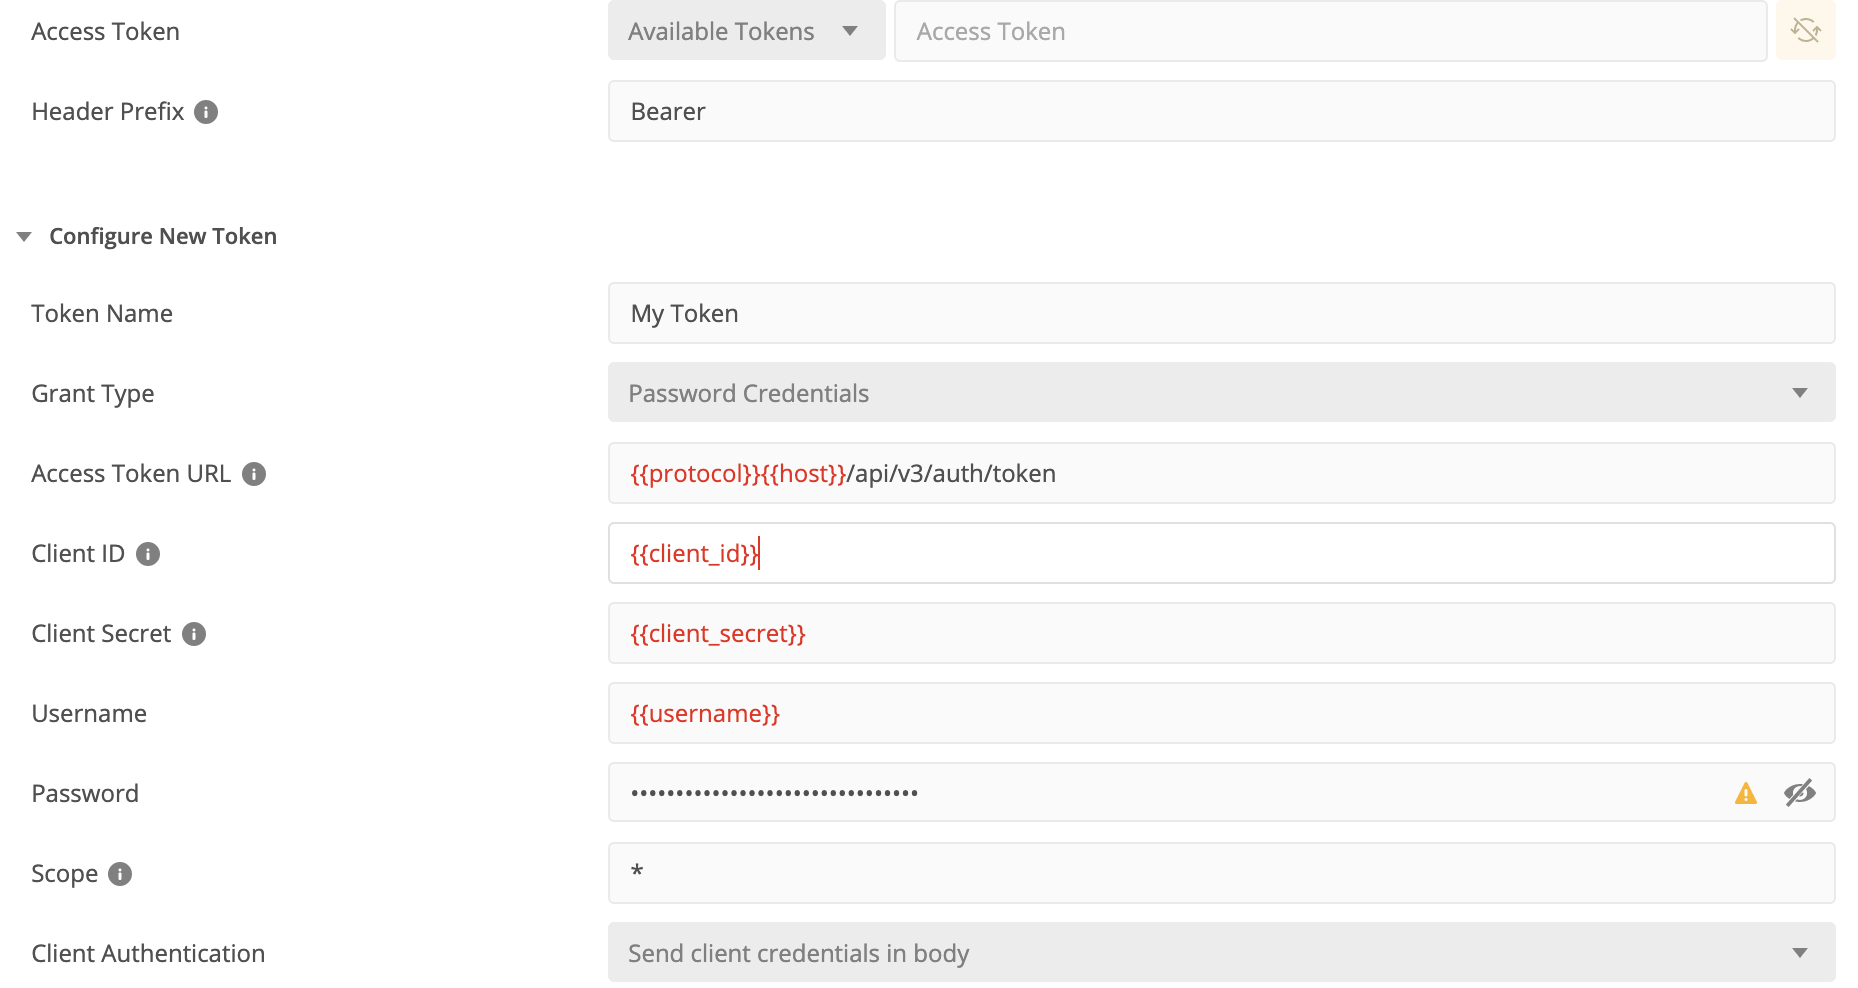
Using the settings in the image below as a reference, fill in the appropriate information, with details unique to your Omneo instance.
Header Prefix: Bearer
Token Name: Your desired token name. (used when selecting previously created tokens)
Grant Type: Password Credentials
Access Token URL: https://api.{{YOUR-TENANT-NAME}}.getomneo.com/api/v3/auth/token
Client ID: The ID of the credentials used for auth. (provided by your Omneo Administrator)
Client Secret: The secret generated on your specific Omneo Instance (provided by your Omneo Administrator)
Username: The login username. (Can also be used to login to CX Manager)
Password: The login password. (The password against your specified username)
Scope: The scopes this token will have access to (usually specify "*" for access to all scopes)
Client Authentication: Send client credentials in Body
- Select the Get New Access Token button.
If the details you have entered above are correct, you will be provided with a bearer token.
You can select this token in any request by selecting "OAuth 2.0" from the authentication type menu,
and selecting the "Available Tokens" dropdown menu. Your configured token name will be available as token to use to authenticate.
Making a request
Now that you've configured your Postman for Omneo, you can begin making requests
Select the Browse Profiles GET Request, choose your authentication (in the authentication tab) and click SEND
If everything has been configured correctly, you should receive a response from the Omneo API.
Using Params

In some requests, you'll need to specify parameters for the URL.
these parameters can be substituted in the "Params" tab of the request.
in the below example, the profileId is substituted as 'abc1234'
you can see this in the Path Variables
Specifying Payload Params
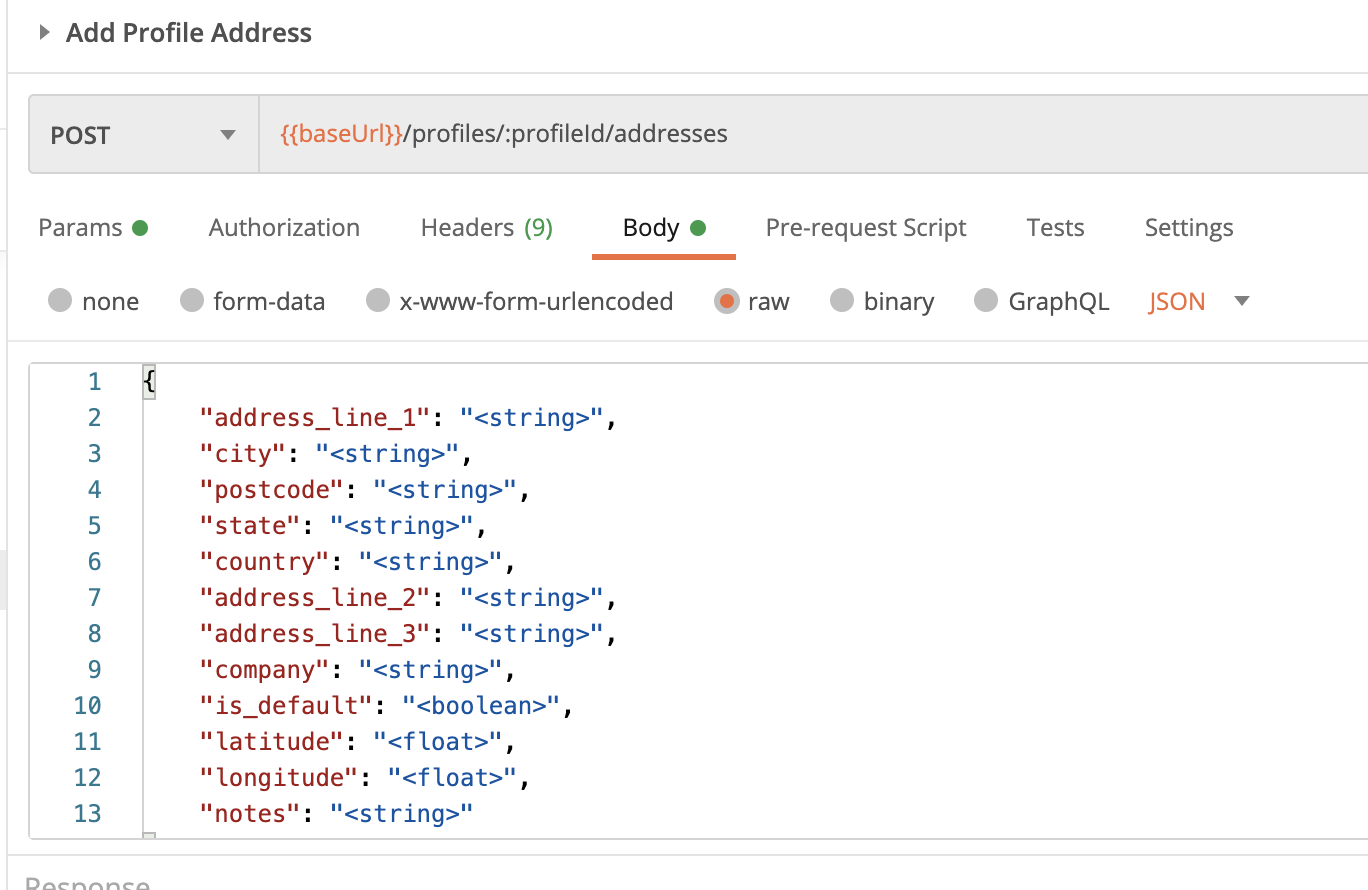
If you're using a POST or PUT endpoint, you'll most likely need to send parameters in the body of your request. By default, this postman collection uses a raw json body
Navigate to the Body tab of your request, and replace the predefined variables with your desired value
Common issues
401: Unauthorized, you'll need to review your Authentication configuration, or make sure to select an authentication method in the "Authorization" tab of the request
ENOTFOUND: your baseUrl is incorrect. The request endpoint couldn't be found.
Updated 8 months ago
